Wednesday 31 October 2012

D.I.Y { T-shirt Ruffles}


Tullula had this T-shirt that had stained sleeve and with summer on the way
I got out my tools and had an idea!


 I needed to get the sleeve's off.
unpicking it on the inside.


and the outside.
One off, one to go!


As you can see, I ended up using another material; blue clouds!

So I cut out my sleeve template.
and sewed a small hem on the straight edge.


Then I passed a thread for the gathering.
Folded the sleeve in half and put a pin in the middle as a marker as to where the middle is!


I then pinned the middle of the sleeve to the middle (top) of the t-shirt.

Right sides together, working outside in.


I then pinned the two ends of the sleeve to the lower part of the sleeve on the T-shirt. this way my work is anchored into place, and I used RED pins to do so, this way I know what they are!
The gathering only starts 5cm away from the end of the material, so I also added two pins (on either side) just before where the gathering starts, just to hold my work well into place!

Now I can pull on the gathering thread and place (more or less) the ruffle sleeve.
I did so with yellow pins!

And the sewing together starts!
I sew with my pins in place, just make sure the heads are well out of the way!


and the same on the other side and VOILA!

I think I will add this dragonfly Iron On piece to add something extra to the top!


If you too make this top, do forward me photo's of your work so I can display it here! (if you want)

P.S:I am in the process of making a more comprehensive tutorial for this; so as they say; watch this space!!

Photobucket

Tuesday 30 October 2012

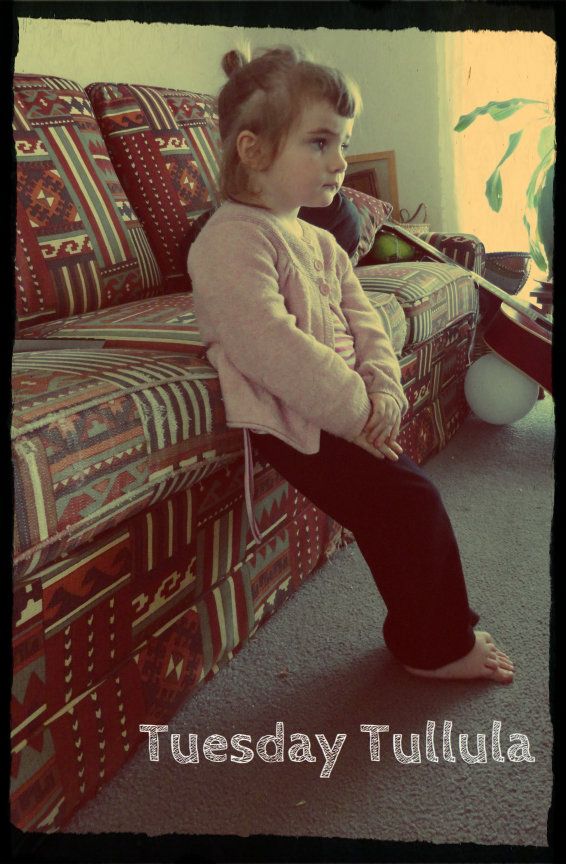
Tuesday Tullula


We went away for the weekend...To Stradbroke Island!
To get there we had to take the ferry across.
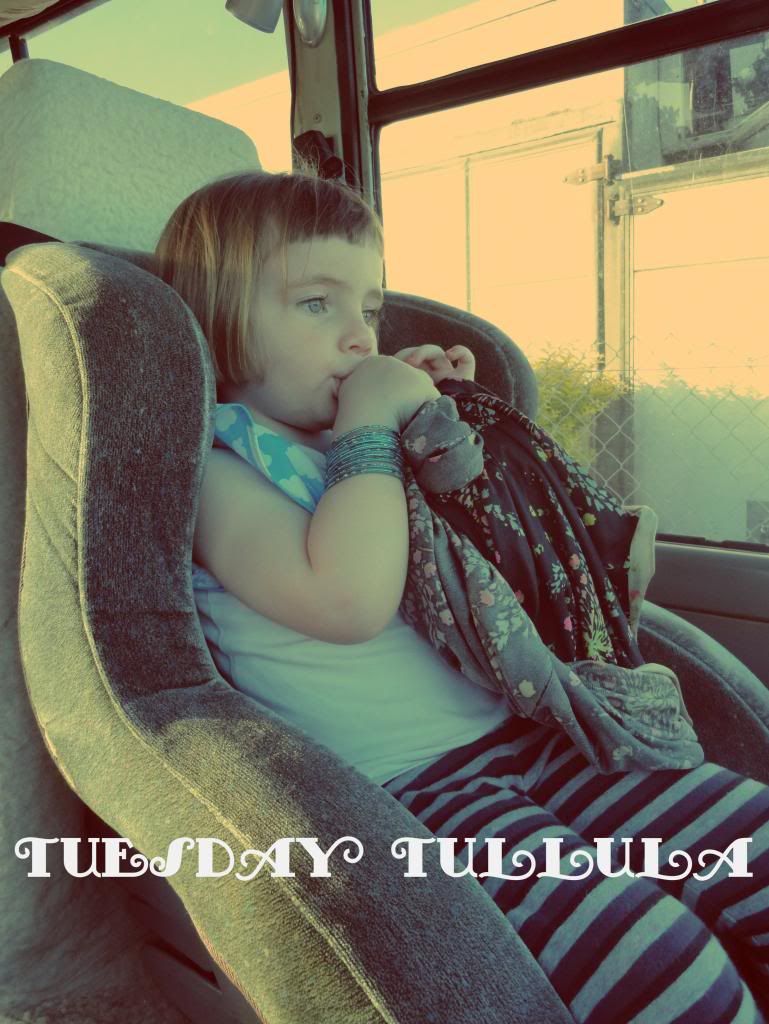
So here is a photo of Tullula in her seat in the bus. She gets to sit in the front as she is not allowed yet to side side on! But she sure is happy about that, as the view from there is pretty good!
And what better than also sucking your thumb for the trip!


Photobucket

Friday 26 October 2012

Building Block


The weather sure is getting warmer on the Sunshine Coast, and its the 1st time since we have been living here that its not pouring rain non stop at this time of the year!
I love the rain, but I Love summer as well...

Tullula is forever changing, and at 88cm tall and 14kg she is one funny little girl!
She has been singing heaps of lullaby's:
  • Ba Ba black sheep.
  • Twinkle twinkle little star
  • Mary had a little lamb
and after me asking her is she could sing "Frère jacques" and hearing me sing it to her as she could not she can now sing in French:
  • Frère Jacques
  • Alouette -the chorus-
I realised that I did not know many French lullaby's, thus I have not been singing many to Tullula and she not knowing them was actually normal!
I do have a book with all the French one's, but reality is that I was not brought up in France, around French kids, French school all those places where children learn these songs! Sure my parents could of taught me some, but apart from those two classic ones they really did not sing other to us! I wonder why???

So despite my book with them all in, I don't know the tunes, so I don't sing them!
I also realised that my 5 years being an Au pair were always done in the English language! Even when I was employed by a French family, I was done to talk to them in English, to help them improve their English!
So all the lullaby's I know are also in English, and to be honest with you there too are limited!!!

We have been having dry night's and I even forgot to put her nappy on one night, realising the next day when she asked me to go for a pipi!
So now day time naps are done without the nappy, but there is a towel underneath, we never know!!!

I went with Tullula to my local hardware shop, and she asked me where we were going, I told her we were going to "Bunnings" (name of the shop). Tullula replied that daddy called it Bunnings, what did I call it? I said "Bunnings", so she then said; "papa dit Bunnings, maman dit Bunnings?"; yes that's right Tullula!!!
Realising that we both use the same word...


We have well and definitely entered the "WHAT'S THAT" period. I have pulled out my parenting book out and its been very interesting to know how to deal with all these never ending questions!
I know that Tullula is only looking for words to build her language skills so we keep on feeding the words, I in French and Stephen in English.

I have to write a post soon to talk about how that's going on.
But for now I wish you all a good weekend!

Photobucket

Thursday 25 October 2012

Quilt {not so step 6}

Hmmm yes the title does say it all, and I guess the lack of a photo as well!
I have been unable to go to Craft Night for 2 weeks now and the last time I did go, I had started to piece the backing-batting and Quilt together, but I made a mistake!!!
I did not think about the fact that I was going to have a yellow border and that it too had to have batting inside...So I cut the material, and I thought it a good idea to save material and sewed right on the edge!
Ok I messed up...
The girls and I talked about it, and really I would be able to patch up up, fix it up that way.
And went home.
Yet I kept on thinking, and was unsatisfied with that idea, sure I can not change the fact that I cut the material, and I am not going to buy some new one; its not cheap!
But I can at least shift things around to improve the situation!
So I unpicked all I had done, and thought I really should hold all my work together by doing so hand stitching!
So that's where I am at now...Just need to get in under the sewing machine!
But this Thursday we are going camping at a Festival so I shall miss Craft Night once more!
But I wont miss the next one, and I indeed to keep on moving as I have other projects in mind!!!


Photobucket

Tuesday 23 October 2012

Tuesday Tullula


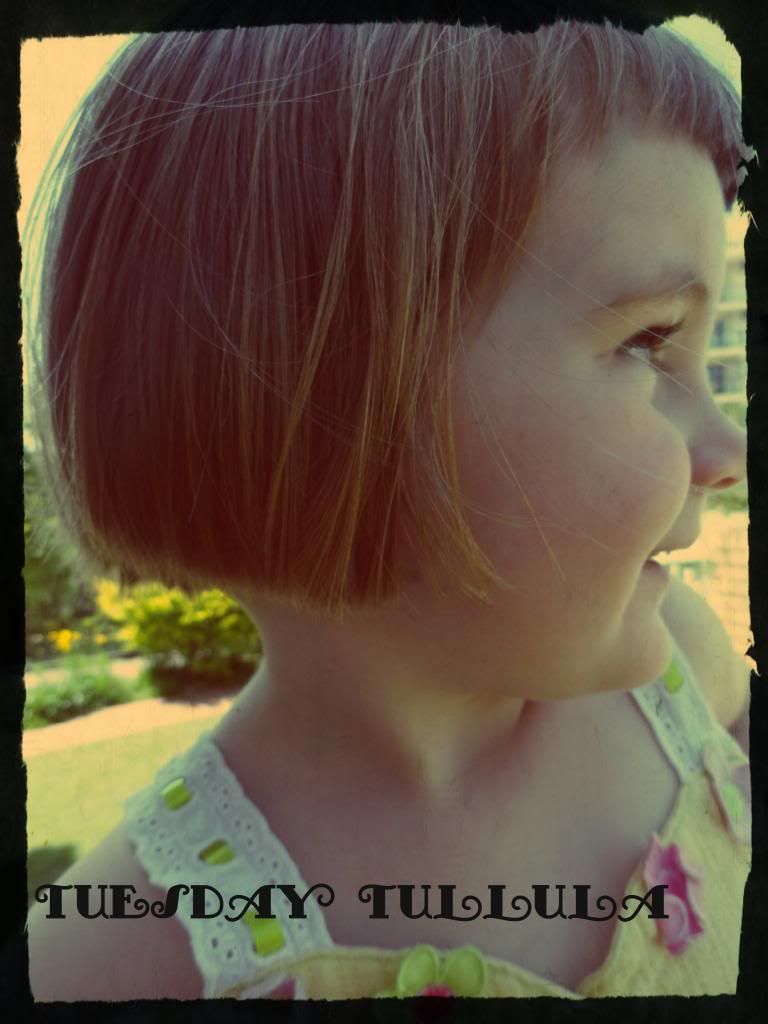
I have been thinking of cutting Tullula's hair for a little while now, asking her if she would like that and making sure I really wanted it myself! She kept on saying "No", so I never ended up making an appointment at the hair dressers, but then on Saturday she agreed to it, so I got her high chair in the bathroom, wrapped her up in a towel and we were both quit exited!
I chopped one side, and then the other to get the same length!
That's when she realised what was really going on, and started a winging cry saying "I want long hair, I want long hair"......
My heart sank, my heart broke!
What was I to do now? I contemplated sort of leaving it, but really it would of been super silly. So with a heavy heart, and a sad little girl wanting "out" I quickly chopped the rest off!!!
I apologised profusely to her, saying that it was going to grow back, and that I really thought she also wanted me to cut it!
I think she accepted my apology as she calmed down very fast, and we had a wonderful day together!
I truly think I prefer her hair this way, but then I guess she just wants long hair like her mommy's!!!

Photobucket

Thursday 18 October 2012

Renovations!


We had found a paid of wooden chairs on the side of the road once, and naturally we picked them up!
They were indeed in a bad state, the top all split and broken...after using them like that for a while, I decided I should try and fix them myself!
My dad used to always say that one is served best by ones self!


So I set out to Bunnings (my local hardware shop) and got some plywood, some paint samples and really that was all I needed as Stephen being a carpenter there is heaps of tool at my disposal!!


So after cutting out the seat using the worn out old one as a template, nailing it into place and sanding the whole chair as best I could, as I was not able to find the sander I had to do it by hand!!!
Oh do I love sanding, NOT!


Tullula sat watching me; waiting for the part she knew was coming...Painting!


I stripped her of her cloths, (didn't want too much paint all over the cloths) and we started to paint!!


We did have to get a few coats on to cover it up properly!


I had cut out a "snow flake" out of cardboard and used it as a template to create a design on the chair!


I had to do some touch up free hand and really I think in the future I would  do a whole lot of different ones to find one that really beautiful but oh well I was eager to get it done and exited of doing it!


I love the result!!


Since Stephen fixed up the 2nd little chairs and has made a table as well for Tullula!


I am happy she finally has her own table and chairs to play at in her little room!


Photobucket

Tuesday 16 October 2012

Tueday Tullula


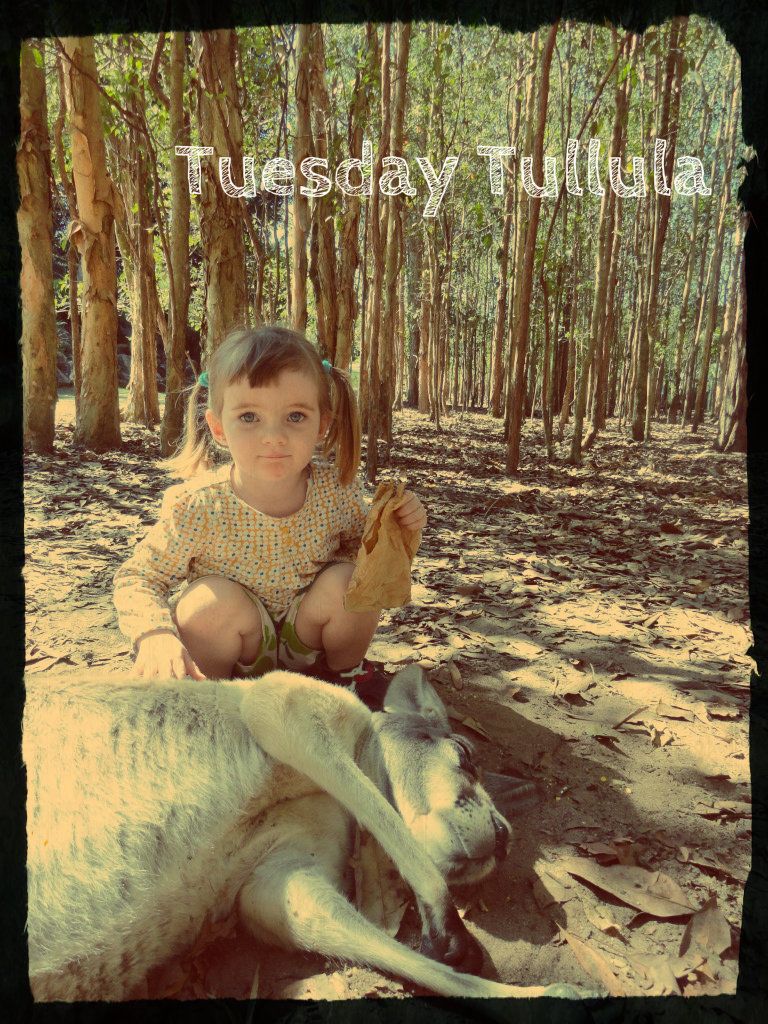
the beauty of living not too far from the Zoo!!
And in Australia I should say, the 1st time I saw a kangaroo I was 30!!!


Photobucket

Monday 15 October 2012

2 Month Later


It has been about that since Tullula and I have been back from Fiji!
My father is on his way back there after spending a little bit of time on the Island of Wallis, a stop over on his way to New Caledonia! I do wish I was going back to visit him....Hmmm...


When we first got back Tullula was really talking a lot more French than English, normal being that she had been surrounded by it for the biggest part of 3 weeks!
Yet her language skills have had a huge boost on the past month, and probably even more so since she has been in the Junior kindy room at day care, surrounded by slightly older children.
Slowing she is definitely talking a lot more in English, even refusing to say things in French at times! Things that I know she can say, like counting! It does sadden me a tiny weeny bit ok a lot at times, but I am conforted by the fact that she still understands EVERYTHING I say to her, and that I know when we go back to France for a visit next year, then she will pick it up again!

But I am finding it hard at times to continue talking to her in French Exclusively, I know I must but somehow at times its a bit hard!!
Especially when she is with her little friends; as they are all now at a talking stage, understanding and communicating...She may understand what I am saying, but now they are left in the dark, so every now and then I have to make an exception and switch to English!

My oh My...This Bilingual business is not easy at times!!!


Photobucket

Sunday 14 October 2012

Quilt {step 5}


I have finished putting all the strips together. I did have to add some on either side as it was not quit long enough (I think I already said that)...So We had a debate as to what colour I should have on the back and edges and Yellow has won! So I got some Batting (I had no idea what I had to get or am sure about my purchase) but its done now and I can start putting it all together! 


Photobucket

Saturday 13 October 2012

Sleep Tight/Awake Doll { DIY }

A friend lent me a really cool book "Made to Play!" and inside it there a tons of things I really want to make for and with Tullula!
So as today Stephen is at work and we are home I thought lets start with a little project, making sure he was leaving me the Jigsaw behind (I am taking a liking to the Jigsaw lately)!
So we made this little doll, I did add some awake eye's on the other side, so she can be either asleep or awake! 

You will need:
  • Piece of plywood. 80mm wide.
  • Some cotton material  of your choice for the bedding.
  • Some paint or permanent markers.
  • sandpaper
  • jigsaw or hand saw.
  • sewing machine or sewing needles.


Step One: Cut out the Doll template and transfer that onto the plywood.
 

Step Two: Get ready to cut out the doll; I used a Jigsaw!


 Step Three: The job I hate the most; Sanding! 
                      I used a grit 80, and a lot of elbow grease to smooth
                      off all the edges of the doll.


Once that's done, 
basically the doll is done and its time to make the bedding!
 I had a very enthusiastic helper!


Sewing:      
  •  1- Sew 3 of the edges of both materials front facing each other.
  • 2- This is how it looks once sewn, turn it all inside out so that the right side of the material is now in the outside!
  • 3/4- Pin over the remaining edge, so it creates a lip and sew it down.
  • 5- then fold over the blanket leaving a backing, so it creates a pocket for the doll to slip into. Sew all the edges to get a nice finish.

  • OPTIONS : You can all a ribbon as to create a strap so it can be carried around like a little bag / You can add a little pillow for the doll and hold it in place with Velcro or a stud!

 The last thing to do it paint/draw the face...
One side asleep and on the other side awake!


Photobucket

Wednesday 10 October 2012

Ten on Ten!


Ten On Ten: One photo taken every hour for 10 hours, and that my day this October!
Do join in the fun, and link your photo's on Rebekah's blog!


#1) waking up and a bad hair day!

 #2) I have to glue back Tullula's little car!

 #3) All ready we are to run some errands!

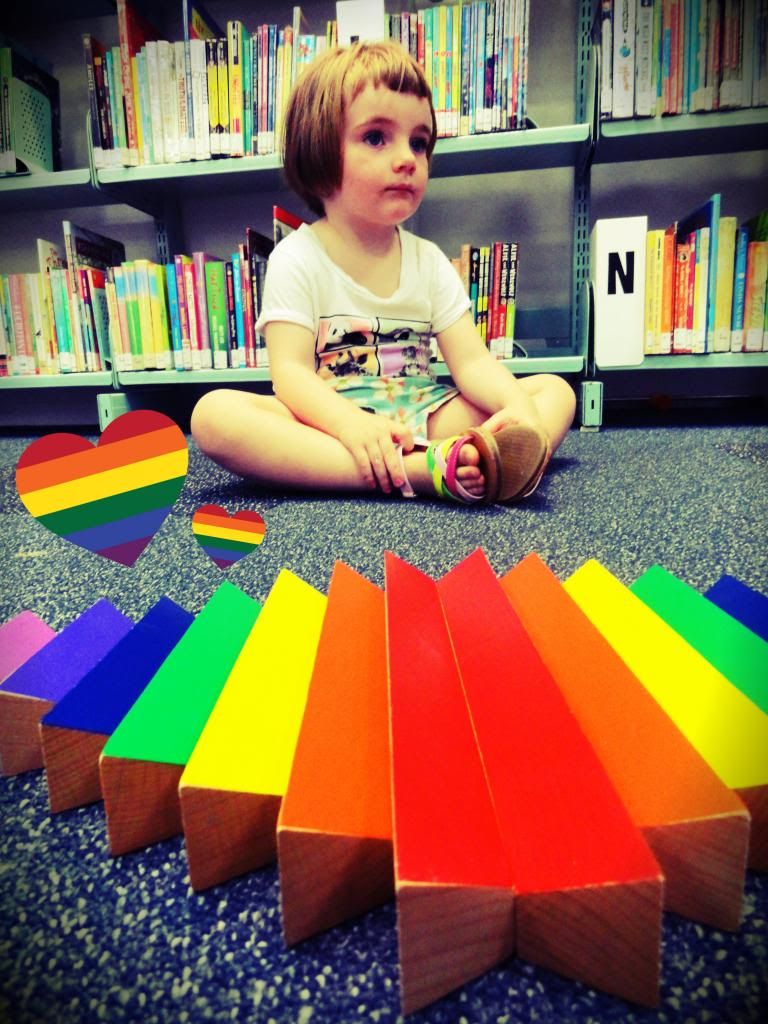
 #4) Teaching Tullula to use get books out at the Library.

 #5) Nap time.

 #6) preparing potatoes for tonight's BBQ at the beach!

 #7) flowers don't last long in our complex yard as Tullula always wants them all for herself!

 #8) Doctors visit.

 #9) a little visitor at the BBQ.

#10) Some drawing before bed!


Photobucket

Tuesday 9 October 2012

Tuesday Tullula

I was cooking dinner and as I turned to have a look at Tullula, I found her watching TV is this Oh so very elegant position!

Photobucket

Monday 8 October 2012

Cooking { Ginger Cookies }


In Fiji there was heaps and heaps of ginger...And I LOVE Ginger!!! Its great for nausea, for motion sickness and a great energy booster! In Fiji a pile like that would cost me AU$1. Now that super super cheap compared to the AU$30 something for a Kilo in Australia!! As that pile was about 250grms!!!
So you can imagine the PILES of Ginger we had on the boat, and it got time to start using it up; Ginger Everything!!!

Ginger Cookies:


Ingredients

  • 2 1/4 cups all-purpose flour
  • 2 teaspoons ground ginger
  • 1 teaspoon baking soda
  • 3/4 teaspoon ground cinnamon
  • 1/2 teaspoon ground cloves
  • 1/4 teaspoon salt
  • 3/4 cup margarine, softened
  • 1 cup white sugar
  • 1 egg
  • 1 tablespoon water
  •                                                                           1/4 cup molasses
  •                                                                           2 tablespoons white sugar

Directions

  1. Preheat oven to 175 degrees C. Sift together the flour, ginger, baking soda, cinnamon, cloves, and salt. Set aside.
  2. In a large bowl, cream together the margarine and 1 cup sugar until light and fluffy. Beat in the egg, then stir in the water and molasses. Gradually stir the sifted ingredients into the molasses mixture. Shape dough into walnut sized balls, and roll them in the remaining 2 tablespoons of sugar. Place the cookies 2 inches apart onto an ungreased cookie sheet, and flatten slightly.


3. Bake for 8 to 10 minutes in the preheated oven. 
Allow cookies to cool on baking sheet for 5 minutes 
before removing to a wire rack to cool completely.  
Store in an airtight container.


Now I don't actually have a photo of the finished product as I did not get to take a photo and they got eaten SO fast! So if you do try to make them (before I do again) and want to share your finished product photo do contact me!!
I love to hear how you all go cooking!

Photobucket

Sunday 7 October 2012

Ojo de Dios

I kinds struggle at times to sit and do nothing,  especially when I watch TV, as I really don't like ok HATE commercials, and we all know that half of what e ever show we are watching we are watching just as much ads!!
Some night I run in and out on the room, as soon as the ads come on I do something else and then come back to my show, but it gets exhausting and the truth is that I end up missing some of the show as well!
So lately I have started to make some Ojo de Dios!
A while ago a saw this Tutorial on esty, and on one of our camping trips I made my first Ojo!

Since I have gotten hooked and its great for my madness for colour and ability to work with thread and knots!!!
So I started by making a collection of small one's, they are about 40cm wide!


Photobucket

Friday 5 October 2012

I wonder

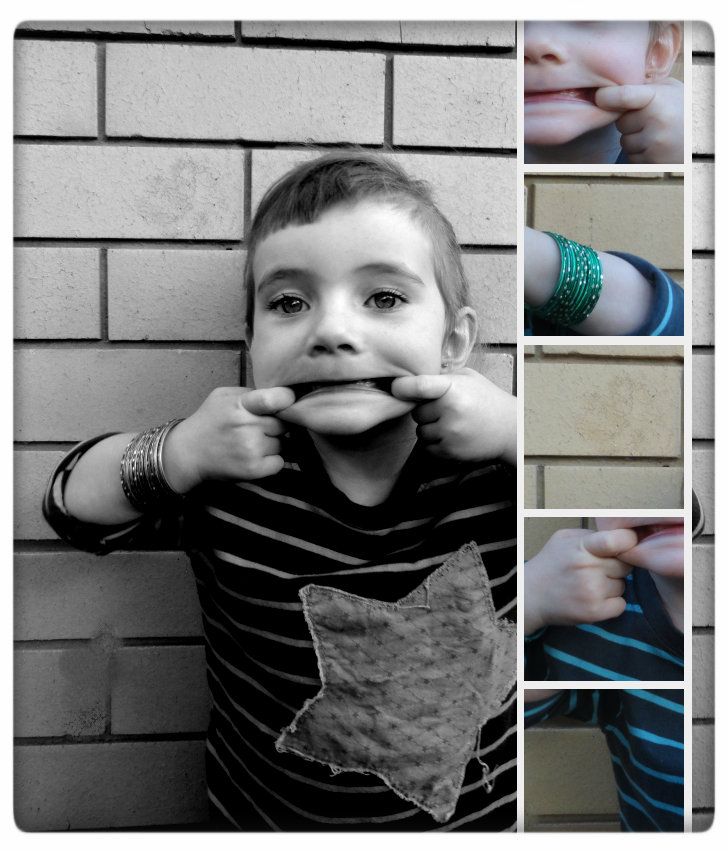
Someone has shown Tullula how to pull faces!!!
How funny it is to see her pull that little face...
Photobucket
Related Posts Plugin for WordPress, Blogger...